Do you ever wonder how our pro Overwatch boosting team moves around the map, how do they control and dominate the map so hard? We'll give you a little guide on how do they do it. Let's dig in.
The Key to Controlling Space
Whilst skill does most count for the majority of your success in Overwatch, underneath the 360 no-scopes there is also an additional layer of strategy to Overwatch which our Overwatch PC boost and Overwatch console boost teams can’t get enough. Picture a game of soccer. Through the duration of a game of soccer, positioning is a huge factor in how the game plays out. Perhaps even more so then the guy, or gal, with the ball, where your players are stood at any given moment can influence not only the guy with the ball but how you oppositions try to attack and also defend. In soccer you can generate space through several different methods; knocking the ball way down the field, punting the ball into the bock, or even just running around like looney and getting the defense to trail you. Anyway, putting the overly long soccer metaphor into context, this exact same principle can be applied in Overwatch, and in many cases is the deciding factor in casual play, and especially in deciding your Overwatch placement games.Creating Space
In order to control space first you must create said space. On one hand, you can do this by simply killing a bunch of heroes and moving into their previously occupied space, but just as in soccer (this is last time I’ll mention soccer I promise) you can also create space in other ways.Crowd Control
One such method is crowd control, and luckily many of the heroes are set up exactly for this purpose. For example, a quick glance at the Overwatch tier list will tell you that you can jump on Lucio’s Sound Wave, Junkrat’s Concussive Mine, Roadhog’s Whole Hog, Pharah’s Concussive Blast, or Winston’s Primal Rage to create some space for your teammates, if just to name a few examples. Every single one of these attacks also doubles as a knockback, allowing you to reposition the enemy team in whichever direction your heart and soul may desire. Sure, these attacks are mostly used for knocking enemies, hilarious I might add, off cliffs and ledges, but they can also be used for much more tactical, and unhilarious, purposes.
Ultimates
You can also use your ultimates to generate some space, who’d have thought it! Sure, many players naturally think that getting play of the game is the absolute key to securing their place in Overwatch lore, any Overwatch duo boosting guru worth his/her salt will know that even just hearing another player’s incredibly audio que as they activate their ultimate provides more than enough incentive to flee whatever area you might currently be in immediately. Out of all the ultimates perhaps McCree’s High Noon is the most effective of this as anyone with any of their wits about them will know that daring to show their face when McCree decides to go all Clint Eastwood then they’ll most likely face instant death.
Flanking
Our final space creation method™ is the wonderful and age old art of flanking. This tried and tested method can be used extremely effective to force a reaction from the enemy, forcing them to either turn to face said flank head-on and thus creating space behind them, or forcing them to ignore said flank and allow you to move swiftly into their backline of defense. A wonderfully simple masterpiece, either way, they play the game. This method can be seen and practiced perhaps most effectively on Volskaya. The quicker heroes can sprint over the ice on the far left of the first point and gain access to the control point directly.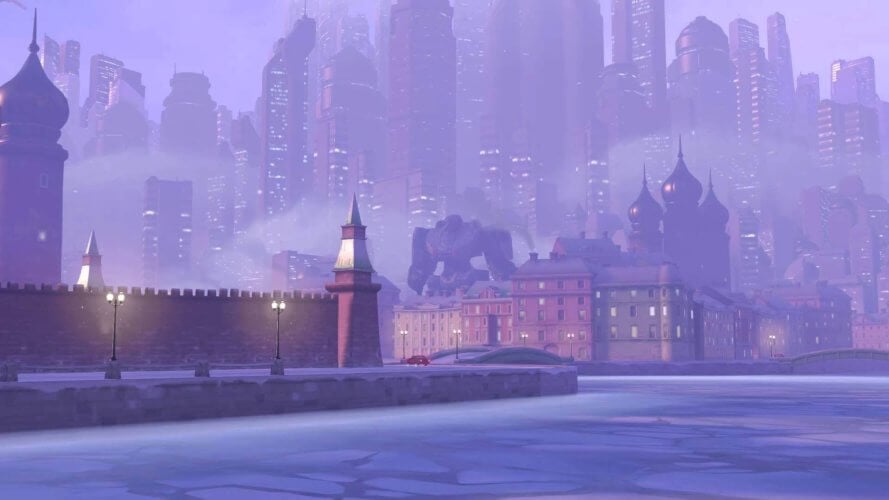
Controlling Space
Now you’ve earned yourself that space through hard graft we need to talk about how you’re gonna control it. Of course, you can just shoot and blast your enemies away that’s always an option, but why not use the wonderful lessons we just learned.Zoning
Zoning is a term we’ve all heard right? Especially those in the MOBA crowd will know it all too well. Essentially it boils down to simply overcrowding your enemies, limited enemy movement, and thus preventing them from causing you any real threat. In Overwatch, this tactic works particularly well. With projectile-oriented heroes and an infinite ammo system, you can assert your position simply by spamming your weapons. In maps with very compact battlefields where it’s naturally hard to get yo’ flank on it can make it much easier for the defending team to hold the upper hand. But, by countering the defenders with constant spamming and imminent threats of damage can greatly deter movement and help swing things in your favor.Swamping the Spawn Point
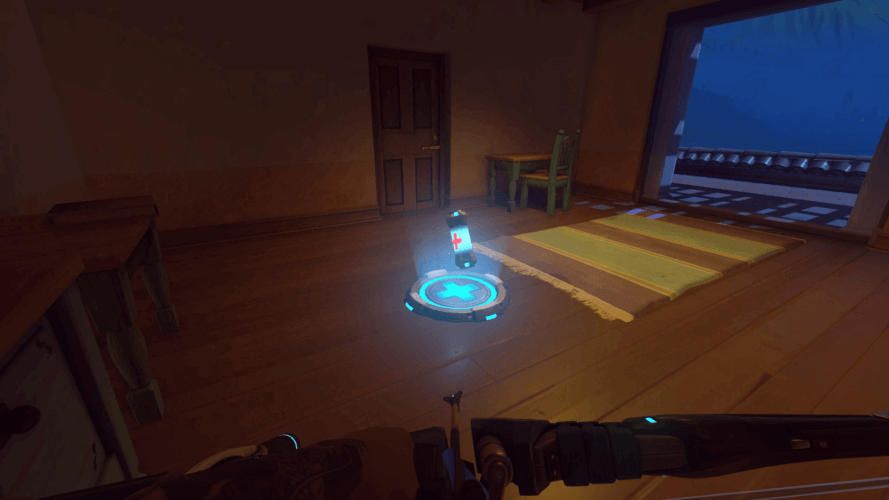
For attackers, space is also naturally generated as your reach each checkpoint and learning the mechanics of how these checkpoints work can allow you to manipulate the battlefield in your favor. Using this tactic you can control your space and allow your team to push forward onto the next objective, whether that’d be a payload or a checkpoint. Now I’m sure many of you are really questioning whether I’m about to advocate spawn camping and don’t worry, the idea of spawn camping frustrates me just as much as it does you all, but damn in a game like Overwatch it’s unbelievably effective, and to some degree a natural occurrence regardless of how hard we may all try to deny it. In situations when your team has secured a capture point or checkpoint, you need to able to recognize when the point is all but yours and thus when it’s time to move forward aggressively. Doing this allows you to catch a good chunk of the enemy team whilst their spawn points begin to transition. This sort of aggression can completely neuter an enemy team’s threat by preventing them from regaining any momentum, giving you team direct control of the extra space to let you press forward. How many you kill isn’t even really important. By laying down constant fire you can effectively distract and harass the enemy into submission.Health Packs
Conclusion
So, let’s summarise all this. If you overlook space you gonna have a bad bad time. If you can create and control space you can bend the enemy to your every whim without them even realize that you are controlling their every move… How pleasantly cunning. We hope learning all about space and/or time will really help you in those Overwatch placement matches. Combine this knowledge with a quick refresh of the Overwatch Tier List and you should be good to go. Happy hunting!
Top 70
Secure your Overwatch seasonal rewards, today.

All rights reserved.
© 2015-2024 Boosting Factory
Boosting Factory isn’t endorsed or in any way affiliated with Activision Blizzard, Riot Games, Electronic Arts, Amazon Games, or Respawn Entertainment and doesn’t reflect the views or opinions of anyone officially involved in producing or managing Heroes of the Storm, Valorant, Overwatch, Call of Duty, New World, and League of Legends. All trademarks and logos belong to their respective owners. All submitted art content remains copyright of its original copyright holder.